The Ultimate Evernote Guide: Part 1 | Part 2 | Part 3 | Part 4
 Welcome to Part 3 of our Evernote series! We’ve been sticking mostly to the desktop so far because it’s the most full-featured. But there are advantages to using the mobile apps as well. For example, if you have content you want to save to Evernote from within another iPad app, it’s useful to be able to load them directly into your Evernote notebooks.
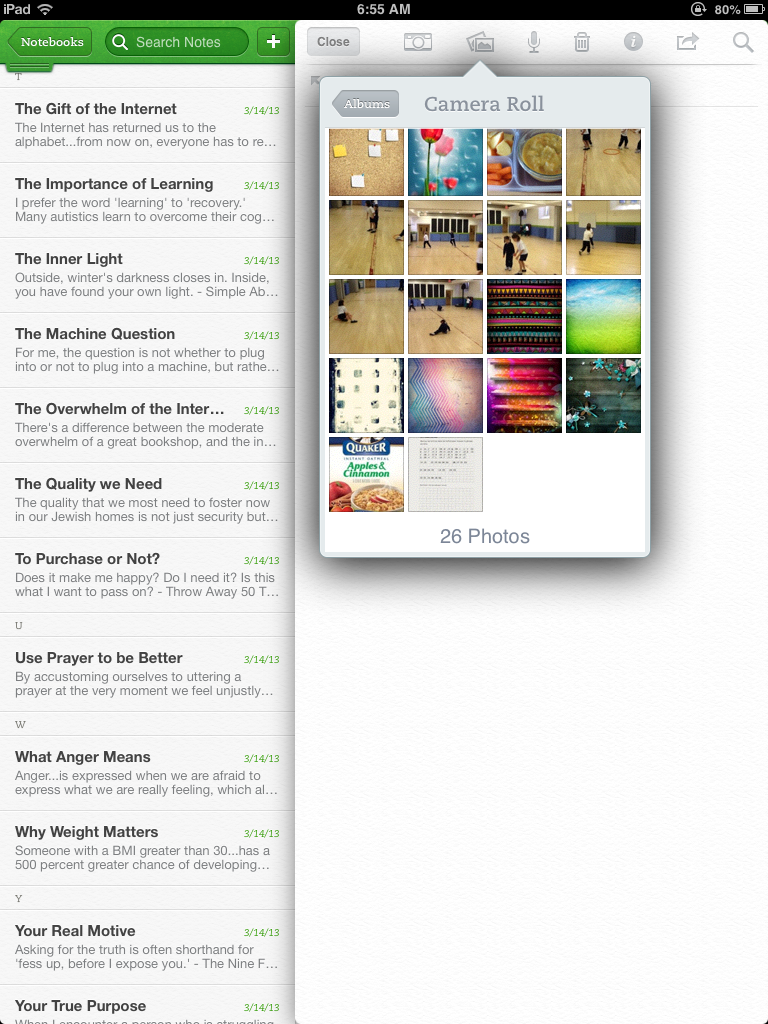
Let’s say, for instance, that you are a Zinio user and you have an article you want to clip from one of your magazines. I used to get numerous cooking magazines from Zinio and I often wanted to save a recipe. With Evernote, it’s easy! Just open up the page you want and then press the power button and home button simultaneously. Your iPad has now saved a screenshot of the page to your camera roll. Pop on over to your Evernote iPad app, create a new note and then click the little camera roll icon (the one that looks like the rolling mountains).
The first time you try this, Evernote will ask for permission to access your photos. Say yes, and then your camera roll and photo albums will be right there. Choose your new screenshot, and it will save directly into your note.
You can also use your iPhone’s built-in camera to take pictures directly from Evernote. I often snap a quick pick of a book or movie while I’m out to look at later once I’m home. But those are just as easy to leave in the camera app. Where Evernote comes in handy is for the more complex stuff.
For instance, I recently took several pictures of baseball cards which the Beloved and myself intended to sell in an eBay auction.
Importing them into Evernote made it easy to annotate them with descriptions for including in the auction, and with checkboxes to mark which ones were listed, sold, shipped and so on. And if any needed to be relisted at another time, all the information (including a nice, clean copy of the picture) was there, ready to go.
Evernote has some nice document scanning features as well, which I’ve found useful for photo work. We’ll explore these some more in the next lesson.
TUTORIAL THREE:
MAKING A CLIPPINGS BOOK TO SAVE QUOTES, HIGHLIGHTS & NOTES FROM YOUR READING
Photos are not the only app-based content you may want to keep. One area where Evernote has really shined for me is as a commonplace book. I often have little snippets I want to keep from books I read. Maybe it’s a quote or highlight, maybe a graphic, or sometimes just a point-form summary of key points from an important chapter. Evernote lets me keep all of this together.
Here’s how to set up your own:
1. Open the Evernote app and create a new notebook called ‘quote keeper’ or ‘clippings file’ or something similar.
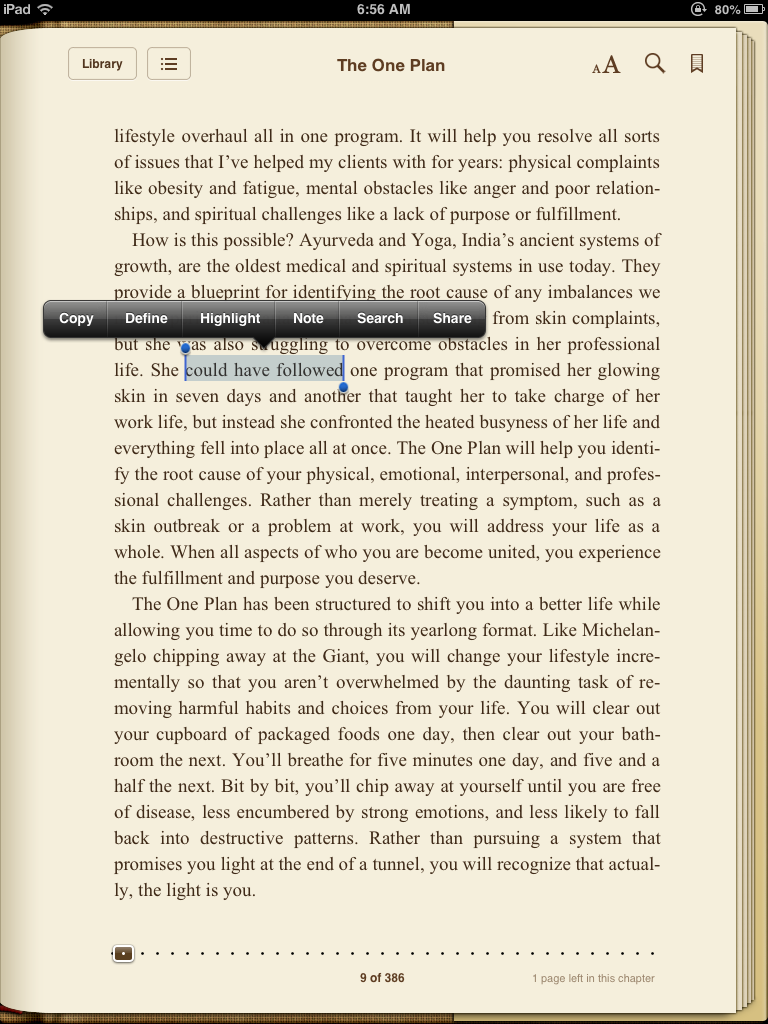
2. Now, go snag a quote or highlight. Go back to your home menu and open up the iBooks app. Find a passage you wish to copy.
3. Press at the beginning of the passage, and hold your finger until a cursor appears. You don’t want to drag quickly to make a highlight—you want to press-and-hold so that you get a cursor with moveable hands. You’ll get a pop-up menu with various choices, one of which will be ‘copy.’ (Note: you can’t do this in the Kindle app!)
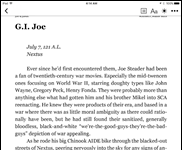
4. Choose ‘copy.’ Go back into Evernote, create a new note and then press the screen until you see the ‘paste’ option pop up. Choose it. Your quote will be posted in, complete with a citation. You can now press on the ‘i’ to edit the tags and info.
5. Sometimes, you may want to add your own comments to a clipping, or format it in a special way. Evernote keeps its formatting options in a second toolbar on the bottom of the note. You can apply bold, italic,underline and so on. But you can also choose bulleted lists or checkbox lists. I once used this when I was reading a book that reviewed and recommended classical novels based around certain themes. I copied the book lists for each chapter directly into the note, then added in checkboxes to indicate which ones I planned to read, and also to tick them off when I had completed them.
Coming up next in The Ultimate Evernote Guide, Part 4: more photo fun! Stay tuned …


